
People appreciate it when you treat them as individuals. That's why personalization is the best way to get your message across to both customers and brands.
Using personalized marketing means tailoring your messages to your audience based on the information they give you. It's an effective method because it helps you anticipate your customers' needs, sometimes even before they become customers.
Here are some quick numbers to show what we mean:
- 80% of frequent shoppers say they only shop with brands that personalize the customer experience.
- 52% of surveyed customers expect their content to be personalized.
- A product's revenue will grow by 38% when displayed in targeted ads.
As you can see, considering the customer is a big deal. Many businesses have effectively optimized their sales strategy by creating personalized email templates. Let's take a look at how custom email templates can benefit you.
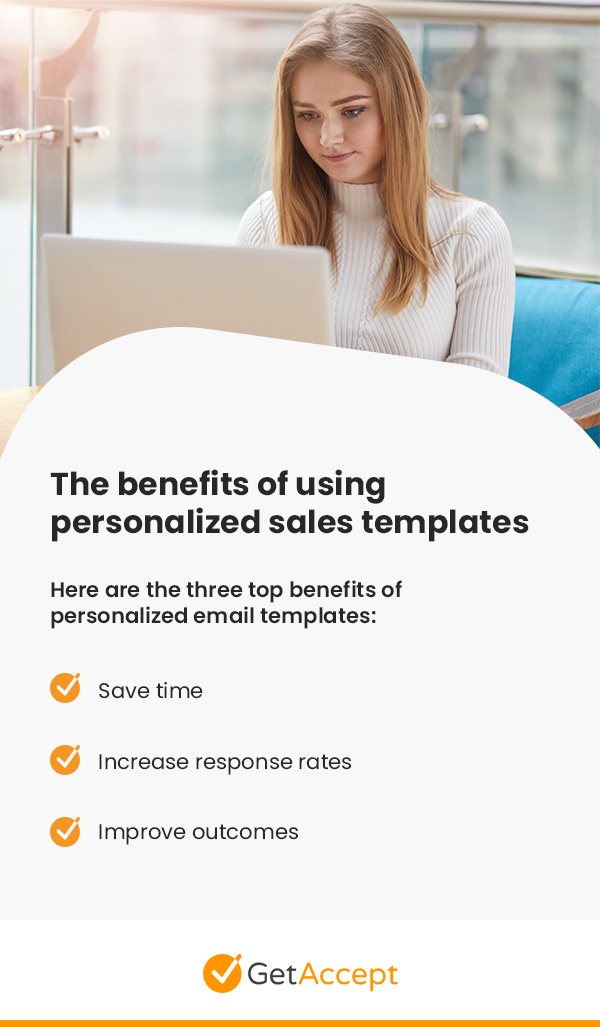
The benefits of using personalized sales templates
Why should your sales strategy include personalized email templates? Mainly, email has a high return on investment (ROI). Taking email communication a step further by personalizing your messages only further increases your chances of making sales. Even something as simple as including your recipient's name in the subject line can significantly increase your recipient's chances of opening it.
Here are the three top benefits of personalized email templates:
1. Save time
Perhaps the most obvious benefit of using personalized templates is the time you'll save in creating messages. The chances are high that you're in contact with more than just a few prospects, so writing every email from scratch isn't the most effective strategy.
Through a well-designed template, you only have to change your customer's name, the subject line or title, and specific details about previous interactions. Having several templates on hand can boost your efficiency even more because it'll allow you to quickly respond to multiple situations without seeming impersonal.
2. Increase response rates
Ultimately, personalized content makes people feel comfortable — and when people feel comfortable with your brand, they're more likely to respond directly to your emails.
One reason personalized email is so effective is that it generates a more meaningful email experience. It might sound counterintuitive, but in general, sending fewer emails means gaining more customers. Sending the same messages to every customer can result in bloated inboxes and unopened emails. Basing communications on the previous interactions users have had with your brand can limit your emails to only what they haven't seen before.
3. Improve outcomes
It's nice to feel like you matter, especially if you're a frequent customer.
For context, let's place it in the real world — you might visit the corner deli every day for lunch and order the same sandwich. Eventually, the employees learn your name and order and ask you if you'll have the usual when you approach the counter. As a result, you feel valued, and you're much less likely to visit another deli where they don't know your name or order.
Aim to master that kind of personal approach in your sales emails. By remembering prospects' behavior and information, you can streamline both their experience and your sales funnel, meaning you'll have to do less persuading to close deals.
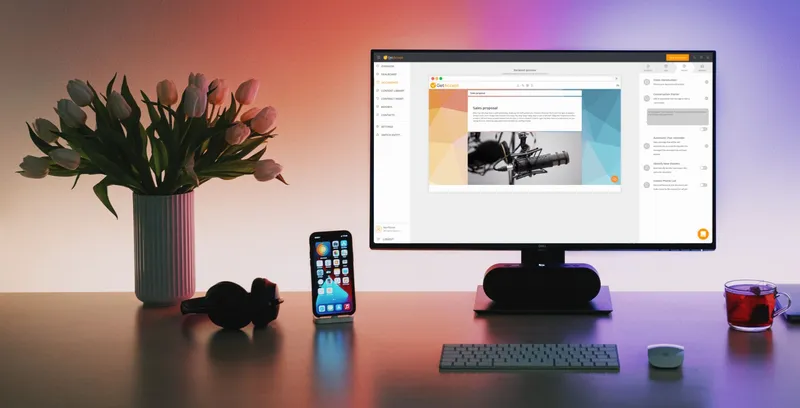
13 steps to create personalized sales templates
Are you ready to get started? This guide will walk you through the process of creating excellent sales email templates with GetAccept.
1. Create a new sales document
If you'd like to start from a blank document, click the orange "New Document" button in the top right-hand corner and select the appropriate document type from the drop-down menu.
There are four document types in "Sales App Mode":
- Sales: Select this type to create signable sales or business documents, like quotes, agreements, or price inquiries.
- Presentation: Choose this type for documents that don't require a signature, like a report or information sheet.
- HR: Use the HR type for anything relating to employment, like new hire contracts, confidentiality agreements, or internal policy documents.
- Other: This type is for any document that doesn't fit into the other categories.
For this kind of project, you should choose a sales document. Once you've done that, you'll land on the drafting screen where you can begin editing.
2. Use a template from the content library
GetAccept has a range of premade templates for those who need a place to start. To browse templates, click the "Templates" link on the left side of the screen. Select your favorite from the list, and you're ready to begin.
Alternatively, you can upload your own premade template from a Google or Word document and add fields, text, or other elements to it. If you'd like to use a document or template you've worked on before, click "Other" and choose the document you need from the list.
3. Customize the template
Once you've got a document started, it's time to make it your own. Here are the three essential elements you should include in any email template:
- Branding: Change the template's color scheme, fonts, and images to reflect your brand and create a cohesive look for your emails. Creating a personalized branded template can help promote brand familiarity with your audience.
- Thoughtful layout: Balance the visual elements in your template with text to create an aesthetically pleasing reading experience.
- Scannable text: Prioritize the content of your email so that the most important information comes first. Most people tend to scan or skim through online content, so make sure your copy is readable and concise.
Use the "Editor Block" feature to add and rearrange content however you see fit.
4. Insert text
Next, paste text from a separate document into the editor block or start typing directly in the appropriate elements.

Follow best practices when writing your email, such as the following:
- Stick to your goal: Are you looking to follow up on a previous communication? Do you want to promote a new product or event? Make sure your message ties back to whatever it is you want to accomplish.
- Connect your business to your prospect: Describe what benefits you can provide to your prospect by focusing on specific features whenever possible. Readers don't want to have to click two or three links to find out how you can help them.
- Proofread: Carefully check your grammar and spelling before sending out your message. Having clean, error-free writing is crucial to maintaining a professional image. You can use an online grammar checker to quickly proofread and optimize your content.
Make sure to balance all text within your layout for the best results.
5. Add fields or names
Use fields to easily change text like names and contact information within your template. A field is a space within the document that can serve any of the following purposes:
- Indicate where the recipient is supposed to sign or add information.
- Provide a blank space for you to fill in whenever sending to a new recipient.
- Add a drop-down list to your document.
To add a field to your document, go to the "Add" tab and select "Field." Then, drag the field type you want into the document, give it a name, and adjust it as necessary.
6. Design your layout
Like every aspect of your branding, you want to design emails with the user experience in mind. Think of your sales emails the way you would a webpage — you want it to captivate your recipient and keep them from bouncing.
Here are a few composition tips that can help you create a beautiful template:
- Make sure all fields and visual elements are aligned.
- Use white space to create balance, especially in text-heavy emails.
- Follow the rule of thirds to determine where to place the most important information.
- Be consistent with design elements. For example, put page numbers in the same spot on every page.
- Choose fonts that mesh well together and match the image of your brand.
The "Editor Block" feature makes it easy to build striking layouts — just add the elements you want and arrange them into blocks.
7. Place images
Integrating images and other visual content into your templates is an effective way to create a beautiful email layout. Using high-quality photos and in-house illustrations can help you maintain your brand's theme and hold your prospect's eye, or create a photo collage of your client testimonials and build trust by showing your result-driven portfolio. For an extra boost to your visuals, use a powerful photo enhancement tool to make your images look their best.
Tip: If you have usable pictures of your employees or customers, they can help to emphasize important information. Place the photo so that the subject looks at something on the other side of the page. Add a text box or chart directly in their line of sight. The subject's gaze will guide the reader right to what you want them to see.
To insert an image in the editor block, click the blue "[+]" sign below or above the element where you'd like to place it. Then, select your image from your library or device and adjust as necessary.
8. Arrange tables
Both tables and charts are excellent ways to convey complicated information in a way that's condensed and easy to understand. It's important to know what kind of chart relates best to the data you want to share.
Tip: Try to keep tables or charts consistent with your branding. For example, if your logo is purple and gold, use purple and gold for all of your graphics.
To add a table, click the blue "[+]" button above or below where you want to place it. Feel free to adjust the size and formatting however you see fit.
9. Attach files
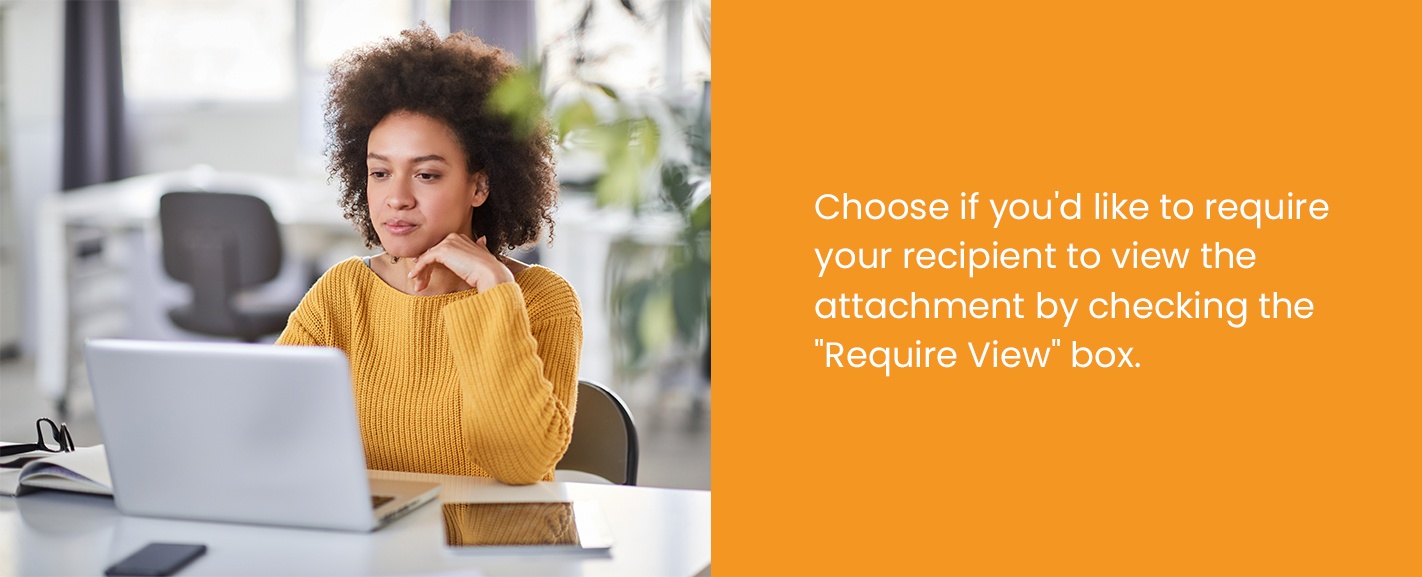
Add attachments like files or links to your emails by clicking the "Add" tab in the top right of the editor. Select the type of attachment you'd like to insert. Upload your file or enter your URL.
Here, you can choose if you'd like to require your recipient to view the attachment by checking the "Require View" box. This option is most beneficial when sending out contracts, quotes, or other essential materials to prospects.
Tip: If you'd like easy access to a specific attachment for future emails, make sure to check the "Add to Library" option.
10. Create a video introduction
To add a video to your message, click the "Engage" tab in the top right corner of the editor. Then, click "Video Introduction."
Now, you can add an already existing video from your computer or YouTube or click "Record" to begin recording from your webcam.
Here are some quick notes for making a great first impression through a video:
- Be welcoming: Keep your body language positive and confident — maintain eye contact with the camera, uncross your arms and pull your shoulders back. Also, smiling and speaking with your hands can lend you an open, upbeat air and put your prospect at ease.
- Introduce yourself: If it's the first time you're making contact, introduce yourself. Feel free to give more than just your name and position. Showing personality is an effective way to relate to potential customers.
- Keep it short: It's best to keep the video brief so your leads walk away remembering what's important. Jot down some notes so you can keep on track.
Once you've completed your video, you can place it anywhere in the template you'd like.
11. Use a live chat
The live chat feature is a great way to humanize the sales process and drive engagement with your prospects. In fact, integrated features like live chat can increase your hit rate by up to 30%.
To create an automated live chat in the document, go under the "Engage" tab and click "Conversation Starter." Write the automated greeting for the chat here.
Here are a few conversation starter ideas:
- "Hi, [Recipient]! You can reach out to me here by sending a chat response."
- "Hello, [Recipient]. I hope all is well. Feel free to contact me using this chat if you have any questions."
- "Hi, [Recipient]. Leave me a message using this chat if you would like to speak more."
The live chat will be functional as soon as you send your email.
12. Integrate an instant phone call
The "Instant Phone Call" feature allows recipients to call you directly while viewing your message, providing an easy avenue to get answers for any questions that might pop up.
To set it up, choose the "Instant Phone Call" option under the "Engage" tab. Be sure to set your phone number up with Twilio beforehand. All you have to do is click Connect and enter the phone number you want to use. Twilio will verify your number and confirm on-screen when finished.
13. Test your template
It's always smart to perform a test run before you send your template. Make sure everything within the template works and looks as it should. For example, you want to ensure you entered the correct dates if you're promoting a specific event. Conduct a final proofread before saving your template to the Content Library for future reference. Once you feel confident, it's time to put your new template into action.
Create custom branded templates for B2B sales with GetAccept
Any company that wants to bolster its sales strategy should invest in personalized sales templates. GetAccept's flexible all-in-one sales engagement platform can help you create dynamic sales templates for any B2B sale.